
A garment sample is evidence at a particular stage of development. It may test silhouette, pattern balance, construction, material, colour, decoration or readiness for production. Approving it means more than liking how it looks: it means identifying which characteristics are accepted, which documents control them and which open points must be resolved before bulk.
The most useful review begins before the parcel arrives. Record the sample type, style, size, tech-pack revision, material status and questions it was made to answer. If substitute fabric or trims were used, mark them clearly. A fit sample made in substitute fabric can approve pattern direction, but it should not silently approve drape, shrinkage or colour.
Know what each sample is for
- Prototype or development sample: tests the early design and construction route.
- Fit sample: evaluates shape, balance, ease and measurement, usually in a base size.
- Size set: checks grading and fit across selected sizes rather than assuming the base size scales correctly.
- Colour or lab dip approval: controls colour before bulk material is produced.
- Pre-production sample: represents the intended bulk materials, trims, construction and workmanship.
- Shipment or production sample: taken from bulk to show the product actually being packed or shipped.
Factories and brands sometimes use these names differently. Define the purpose in the purchase order or development calendar. One physical sample may serve more than one purpose, but each approval status should still be explicit. “Approved for fit, fabric colour pending” is safer than a general “approved.”
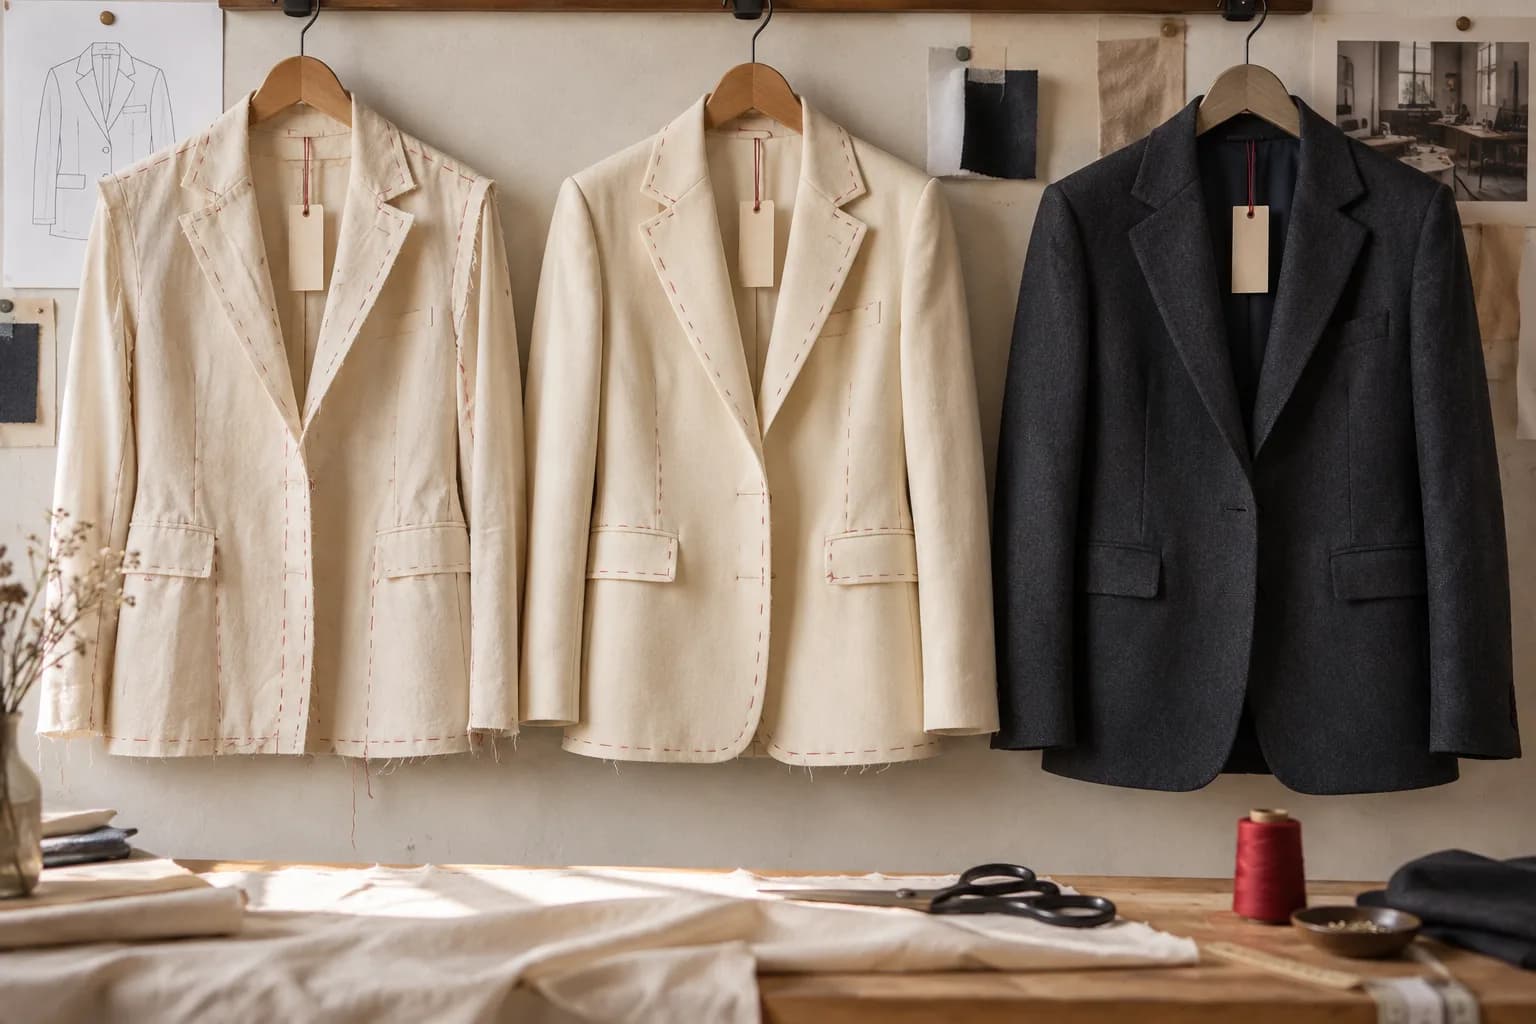
Review from the whole garment to the details
First assess the garment without measuring it. Place it on the intended body or form, close every fastening and view it from front, side and back. Check balance, silhouette, hang, ease, mobility and whether seams sit in the intended positions. Photograph consistent views. Then lay the garment flat and compare measurements using the methods in the tech pack.
Record the actual value, target value and tolerance. A sample can be within tolerance yet look wrong because several small deviations combine in one direction. Conversely, a measurement can be outside tolerance because the method was ambiguous. Resolve the method before changing the pattern. Fit comments should describe the observed effect and the intended result, not only prescribe an unverified pattern adjustment.
Check material and workmanship
Confirm that shell, lining, rib, interfacing and trims match the submitted references. Assess hand feel, weight, stretch, recovery, opacity and shade under suitable light. Check nap and print direction. For washed products, compare the finish to the approved standard and inspect unwanted creasing, abrasion, puckering or shade variation.
Follow every seam. Look for skipped stitches, broken thread, loose tension, raw edges, twisting, uneven seam allowance and insecure starts or ends. Check symmetry at paired features, pattern matching, topstitch distance, pocket placement, closure function and hardware attachment. Turn the garment inside out. Internal construction often shows process consistency more clearly than a pressed exterior.
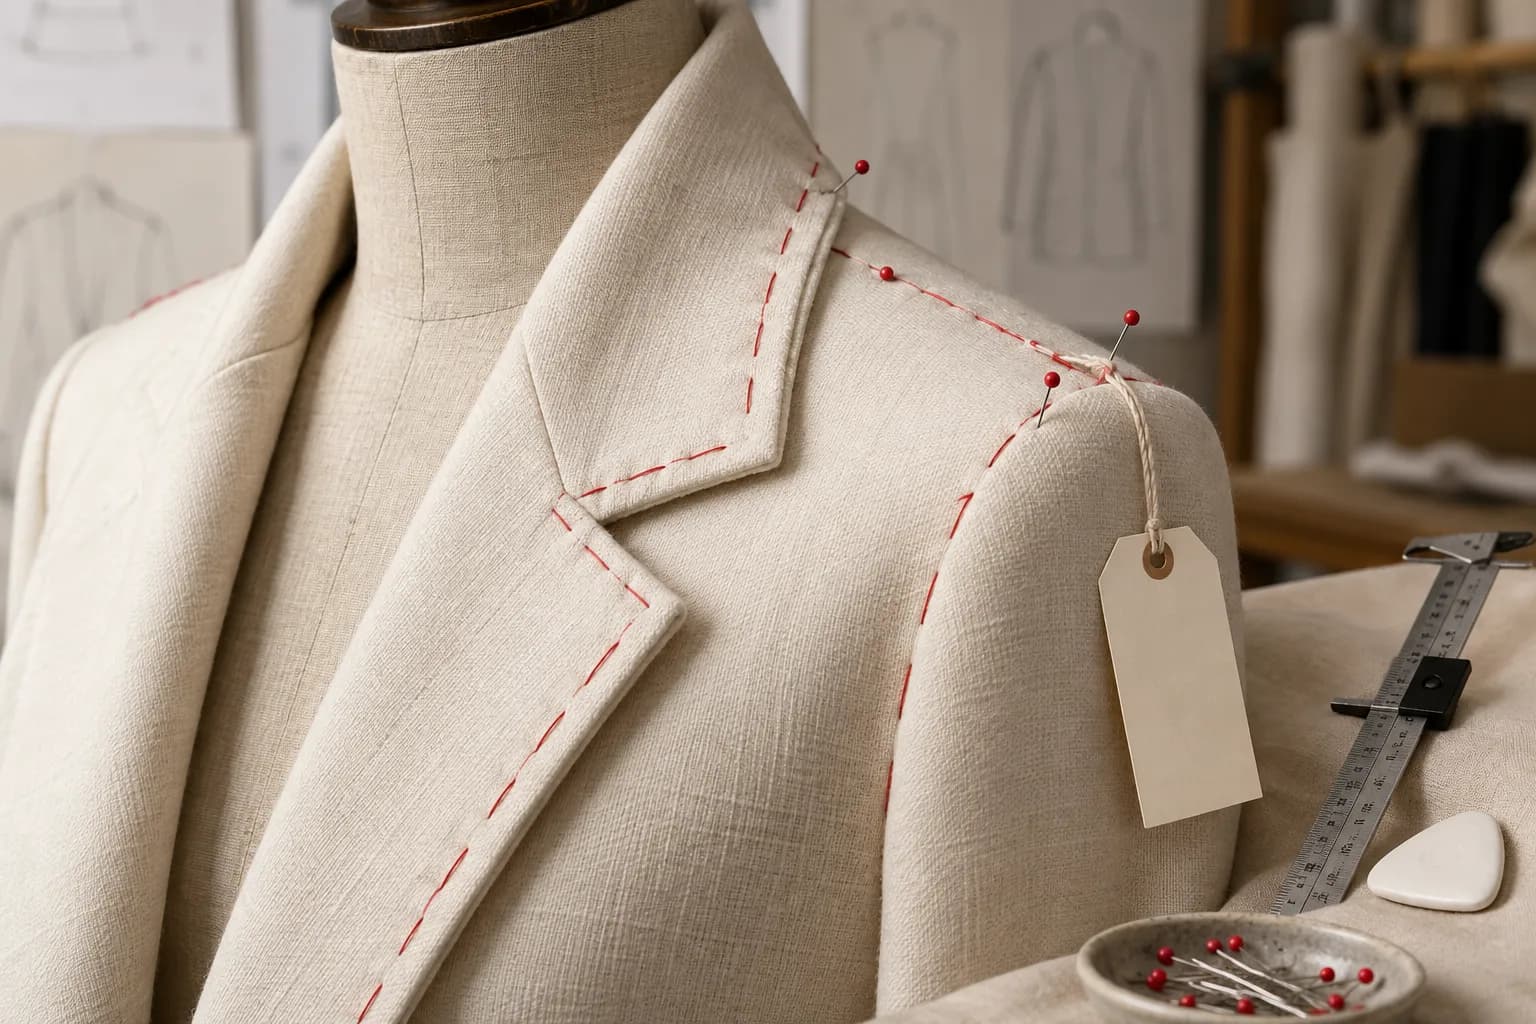
Test the garment as it will be used
- Operate zippers, snaps, buttons, drawcords and adjusters repeatedly.
- Load pockets and stress attachment points appropriate to normal use.
- Move through the postures the product is designed to support.
- Wash and dry according to the proposed care instruction, then remeasure.
- Inspect colour transfer, pilling, surface change, print damage and seam distortion.
- Check labels, packaging and fold method against market and order requirements.
Home testing can reveal obvious issues, but regulated claims and formal performance requirements need suitable methods and qualified laboratories. Agree tests early enough for failure to be corrected. Testing after bulk is packed can identify a problem without leaving time to solve it.
Control the comment cycle
Return one consolidated comment file. Number each point, mark its location on a photograph or drawing, assign responsibility and update the relevant tech-pack page. Avoid separate messages from several reviewers. Conflicting comments waste sample rounds and make it unclear which instruction the factory should follow.
Classify every point as approved, revise, pending information or not applicable. When the next sample arrives, check the previous comment list first. Do not focus only on new observations; confirm that requested corrections were made without disturbing approved areas. Keep one untouched approved sample when possible, signed and dated by both sides or otherwise identified through an agreed control method.
Define what approval releases
Before bulk, connect the approved sample to the final tech pack, graded measurement chart, bill of materials, colour standards, artwork, size set and packing specification. Confirm which substitutions require written approval and which production tolerances apply. If a pre-production sample differs from intended bulk in any respect, list the difference and create a separate approval step.
A sample should not carry information by itself. Production teams need accessible documents, and quality control needs measurable criteria. The strongest approval package combines the physical reference with a dated specification and a closed comment history. That package turns “make it like this” into a result that can be repeated across the order.